While clients love their different intensive and corrective treatments, they also love the beauty of receiving a soothing and relaxing facial or mask treatment. Elaine Sterling, founder of Elaine Sterling Institute and Skincare, broke down how binge masking or multi-masking can be a great treatment that delivers results while relaxing your client. During the Face & Body Northern California conference, Sterling showed her top tips on how to properly provide your client with a beneficial binge masking experience.
Binge Masking Benefits
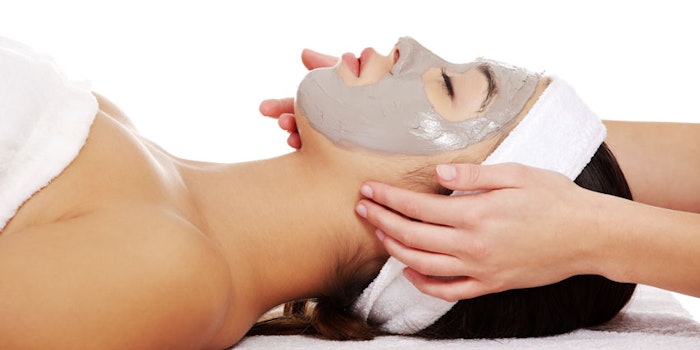
Also known as multi-masking, this requires the spa professional to look back at the skin type and skin condition to see what masks are going to work best on the client’s skin. This technique requires layering masks on top of each other like setting masks and non-setting masks as well as exfoliating, hydrating and cleansing masks.
Sterling further broke down how there are numerous masks that you can provide your client, but it is crucial that you analyze your clients skin before hand as well as ask them what they are looking to change in their skin. The beauty of this treatment is that it allows you to use more than one mask to make beneficial changes in the skin. Sterling broke down how this technique of masking allows you, as the spa professional, to provide the client with glamour and beauty.
Breaking Down the Binge Masking Experience
Step 1 the cleaner the better. After asking her demonstration model what she would like to change in her skin, Sterling showed in a demonstration how every part of the experience should feel like a mask, explaining that she even leaves the cleanser on as if it is a mask. She further explained how her double cleanse in her demo should take seven minutes.
Step 2 exfoliation station. While she let the cleanser seep into the skin and sit on the skin, she got her exfoliating mask ready for application. After taking off the cleanser, Sterling applied the exfoliating mask to the skin to prepare the skin for product penetration. She allows this mask to sit on the skin for five-minutes.
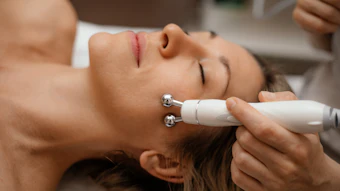
Step 3 get sheet faced. At this point in the treatment, Sterling applied the sheet mask, and she started an ice globe massage for her client. This step acts as the lymphatic drainage portion before she applies a different mask for lifting and toning. Sterling explained the importance of telling your client you will be applying a cool globe on their face before doing it as to keep from startling them. She also explained that having two sets of globes is helpful as the first set will warm to the client’s skin and will then not be cool during the lifting and toning portion.
Step 4 a little lift. After removing the sheet mask from the skin, Sterling applied a non-setting mask onto her client’s skin. Do not rinse off any of the residue that was left on the skin after you removed the sheet mask; instead, just apply the non-setting mask right on top. Now, take your second set of cool globes, and continue to do the lifting and toning portion of the skin with the cool globes. Sterling explained that you should allow this mask to sit on the skin for about 10 minutes.
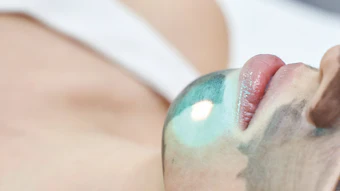
Step 5 just keep breathing. Once Sterling removed the non-setting mask from the skin, she applied some eye patches to the client’s undereye area, and she then applied an oxygenating mask. This is really where we are multi-masking on the client with the combination of the two types of masks. Sterling explained that there are some fun ways to remove the oxygenating mask whether you use a plastic spatula or cool towels.
Step 6 ready SET go. Sterling explained that before applying this mask, if you were planning on doing any extractions now would be the time. She also explained that it can be fun to play with textures and apply the masks to the clients using different tools. Sterling further said that while the mask set on the skin, she would apply eye pads as well as massage the shoulders and décolleté to make it more of an experience for the client.
Step 7 closing time. Once the last mask has been removed from the skin, Sterling said that she would only apply a moisturizer using pressure point massage and SPF to the skin after toning it. Sterling also explained that for this entire treatment, you should start with heat but slowly use cooler and cooler temperatures as the treatment concludes.