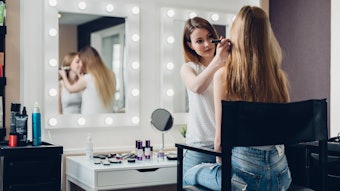
It is commonly believed that makeup is used only when trying to enhance a person’s appearance; however, when it comes to being on camera, whether it is film, television or photography, makeup is often needed just to maintain a person’s appearance. There are many factors to consider when applying makeup for a client who will be on camera, and one of the most common issues is shine. Natural skin contains a certain amount of oil that, in person, is not noticeable. Camera lighting and flash photography almost always picks up and reflects this natural oil, and the skin appears to be very shiny, even if it is not.
Another factor to consider is skin tone. Different lights cast different hues over the skin. Even if a camera is color-balanced, other lighting, such as sunlight, incandescent and fluorescent lighting, can alter the skin tone, making it appear dull and sullen, or overly warm and orange. Always try to work under similar lighting, or test the foundation color under lighting and make adjustments before a photo shoot.
Last but not least, products with SPF often contain titanium dioxide, which naturally reflects light. When a foundation contains SPF and flash photography is being used, the skin tends to cast a white or ghostly hue. Using an SPF-free foundation will ensure that skin tone stays true through any lighting.
Step 1: Before starting any application, make sure the skin is cleansed, all brushes are cleaned and sanitized, and proper tools, such as spatulas and disposable applicators, are used on all makeup to avoid the spread of any bacteria or infections. Proper skin preparation is key to smooth, even skin.
Step 2: Apply a skin-transforming serum with a foundation brush all over the skin. Ideally, this serum will contain technology to correct skin imperfections, and diminish the appearance of fine lines and skin flaws while enhancing the skin’s natural radiance. Allow the serum to settle for a few minutes. During this time, prep lips with a lip primer, applied with a lip brush to help lip color perform better and smooth creases and fine lines.
Step 3: Next, apply a pore-perfecting primer with a foundation brush, helping reduce the appearance of pores and fine lines while creating a barrier that will help control shine.
Step 4: Apply a pre-eye shadow cream with a small cream brush on the eyelids to help prevent shadow from creasing and moving under the heat of the lights.
Step 5: Take notice of the client’s skin tone and lighting before choosing shades of concealer and foundation. Use correcting/concealing makeup to adjust uneven skin tones. Use green over any redness, purple over yellow tones and peach over blueish tones.
Step 6: Apply mineral photo-ready concealer with a small cream brush underneath the eyes to camouflage dark circles and diffuse light, taking focus away from skin imperfections.
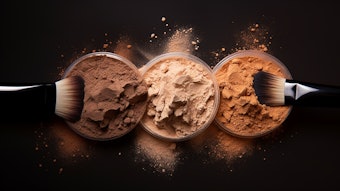
Step 7: Apply an oil-free matte foundation in a shade matching the client’s skin tone with a clean foundation brush. Use downward strokes to ensure that tiny hairs on the face will not be lifted.
Step 8: Set the foundation with translucent blotting powder, to help keep makeup intact without altering the shade.
Step 9: Apply matte shadow all over the lid in a natural, creamy shade, then apply a deeper tone in the crease and outer corners of the eye to create shape and depth.
Step 10: Apply a sheer satin shadow in a shade of your choice to bring some color and pop to the eye on the lid using a fluffy blending brush to ensure it is placed sparingly. Shadows with a slight pearlized finish bring a nice pop to the eyes, but overdoing it can be too overpowering.
Step 11: Place a line of gel liner along the upper and lower lash line to create definition, making it thin near the inner corner and gradually thicker toward the outer corner. Line the inside of the eye, as well. This line is extremely budge-proof and will stay in place even if the eyes are watery, which is perfect for brides.
Step 12: Brush on a long-wear mascara with a disposable mascara wand.
Step 13. Apply a finishing powder in matte bronze with a brush to contour the cheeks. Ask your client to suck in her cheeks to see the natural contour of the cheekbones, and brush up along this contour to give definition to the face.
Step 14: Apply a baked blush with a blush brush along the apples of the cheeks, sweeping the color upward toward the temples to create a lift.
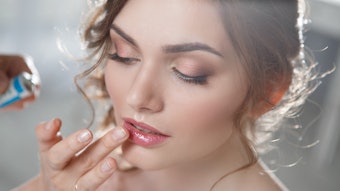
Step 15: Apply a long-lasting lip liner in a shade that is one to two shades deeper than the client’s natural lip color and in a hue that is slightly warm. Avoid using lip color with blue undertones, because they can make lips appear dull. Line and fill the entire lip to help lip color last longer.
Step 16: Finish by adding a lightweight lipstick with a lip brush in the desired shade.
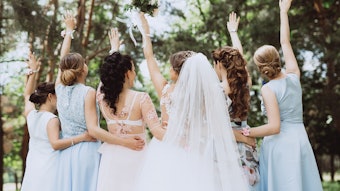
Kristen Thérèse Leonard is a makeup artist and marketing manager for Your Name Professional Brands, and is well-known as the go-to makeup artist for brides in the New York area. She created a flourishing, independent business, working with brides, celebrity clients and on-site at top fashion magazines.
Cosmetic products and supplies used in this makeover were supplied by Your Name Professional Brands.